Access Application Submissions
You can view data that have been shared with your access applications in the submissions screen. You can search for a submission, view and print the shared information and update the state of the submission. For example you could update the state to "Accepted" and send a message to the user advising them of that.
To view submissions, navigate to the Raytio homepage. In the top left corner of your screen select Submissions. If that is not visible you may need to switch to the Organization menu by selecting the context switcher

On the Submissions homepage, you can select the access application you would like to view submissions for by using the search function in the top right hand corner. Note that this will only appear if you have more than one access application
After selecting the relevant access application, the submissions table will be displayed. To quickly filter through submissions, use the search function.

For each submission the following is shown:
| Name | Description |
|---|---|
| Shared By | The individual who submitted data to your form |
| Status | The status of the submission. Valid values include Submitted, Received, Processing, Accepted, Rejected. You can update the status of a submission |
| Confirmation Code | A unique confirmation code that is generated and displayed to the user when they share their data with you |
| Reference | Your reference. When you ask someone to share information with you, you can include a reference in the link that gets sent to them. Then, when the user provides the information to you the reference will be displayed as part of the submission |
| Start Date | The date that the data was shared |
| End Date | The date after which the data will no longer be available to you |
To view the history of a submission, click the three horizontal lines on the right hand side of your screen under Actions. When the dropdown menu appears, select View History

To view and print the submission data, or to update its state, select Open from the Actions dropdown menu
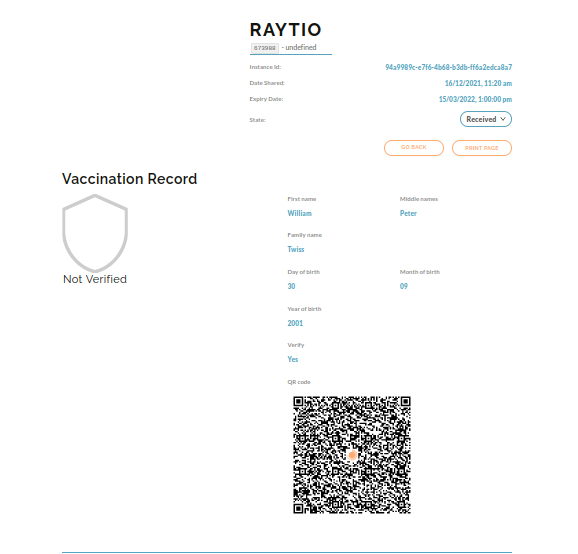
To print a submission, select the Print Page button and print the page
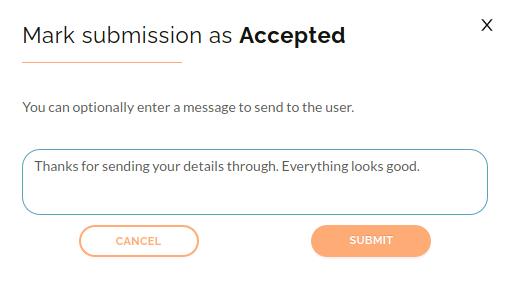
To update the state of a submission, select the State dropdown box with the on it, and choose a new state
Optionally you can enter a custom message which will be sent to the user. Select Submit to update the state
To leave a review of the customer, select Review from the actions dropdown menu.
